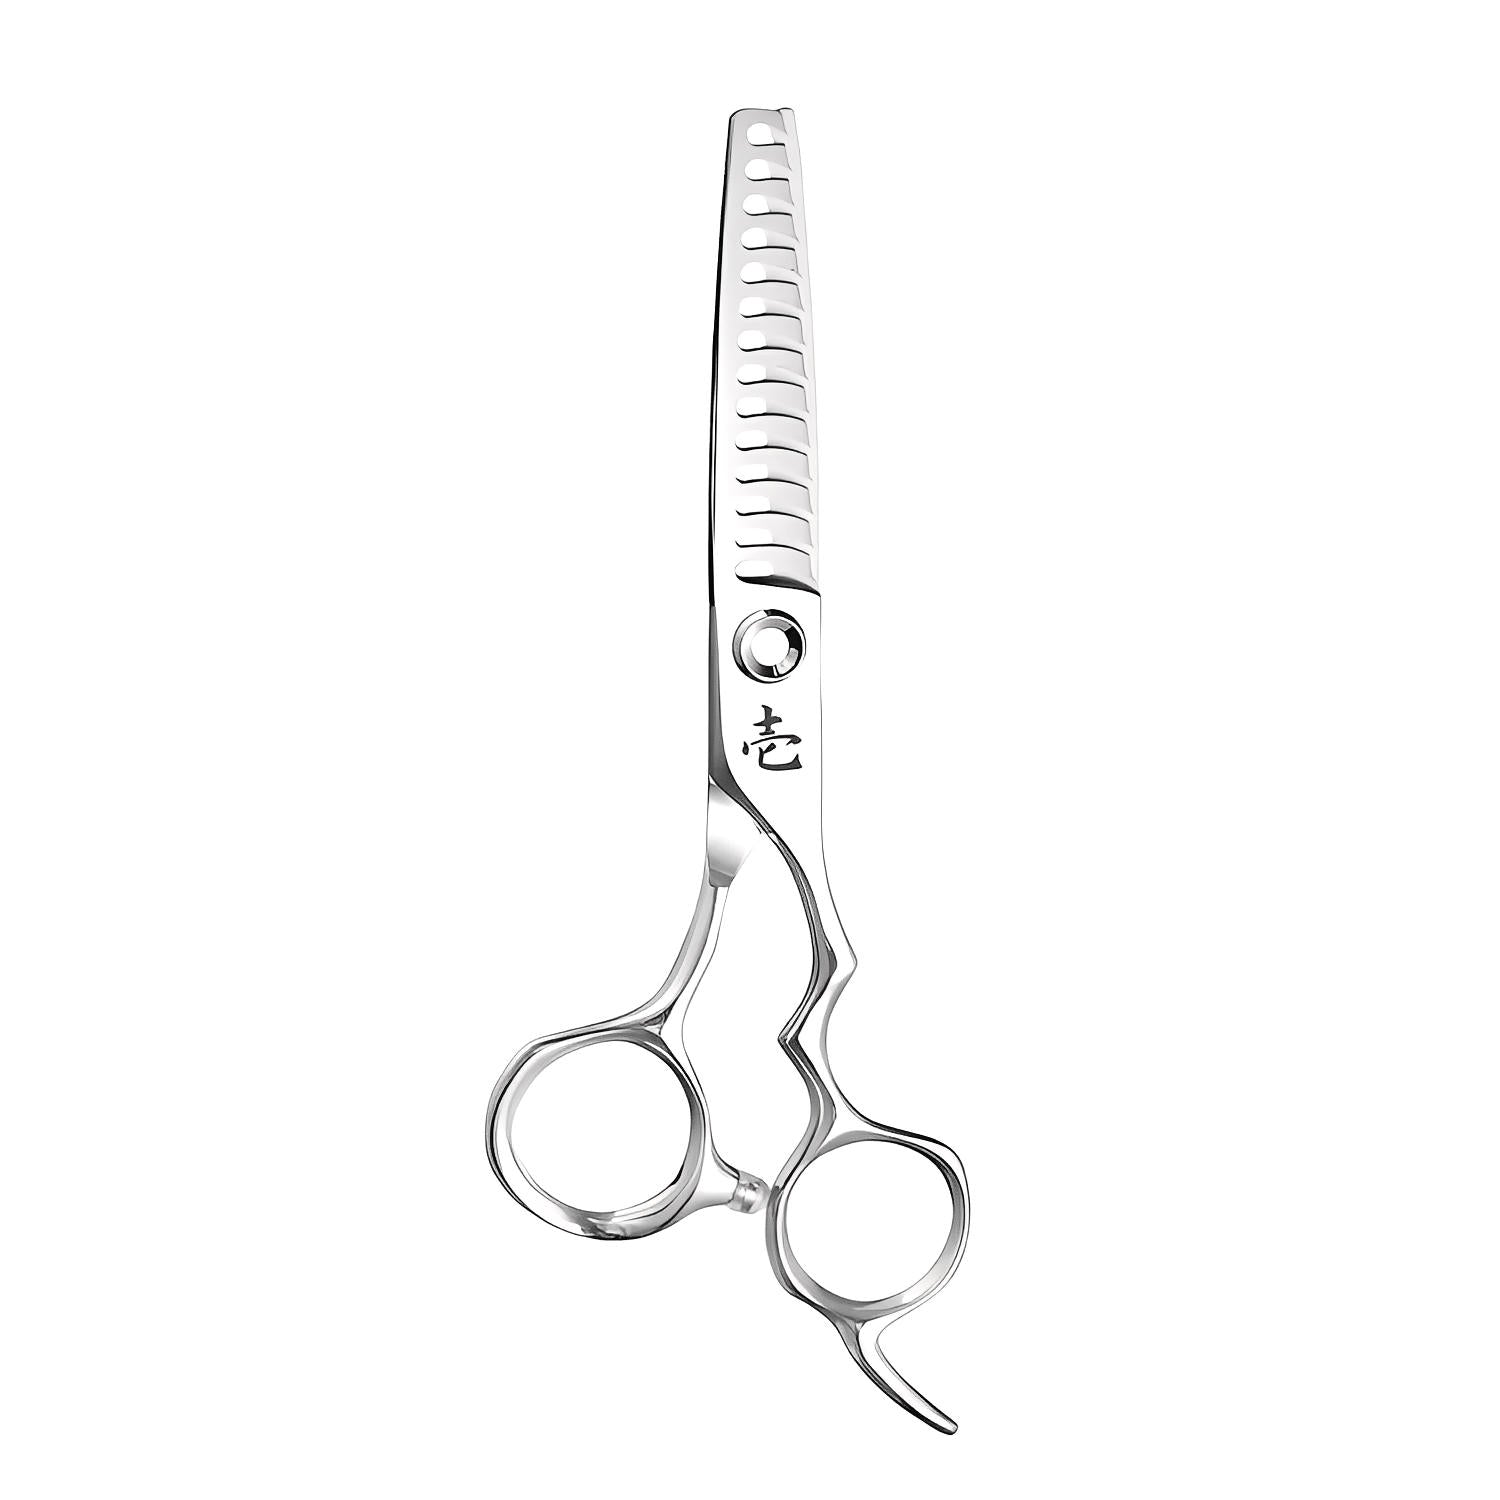
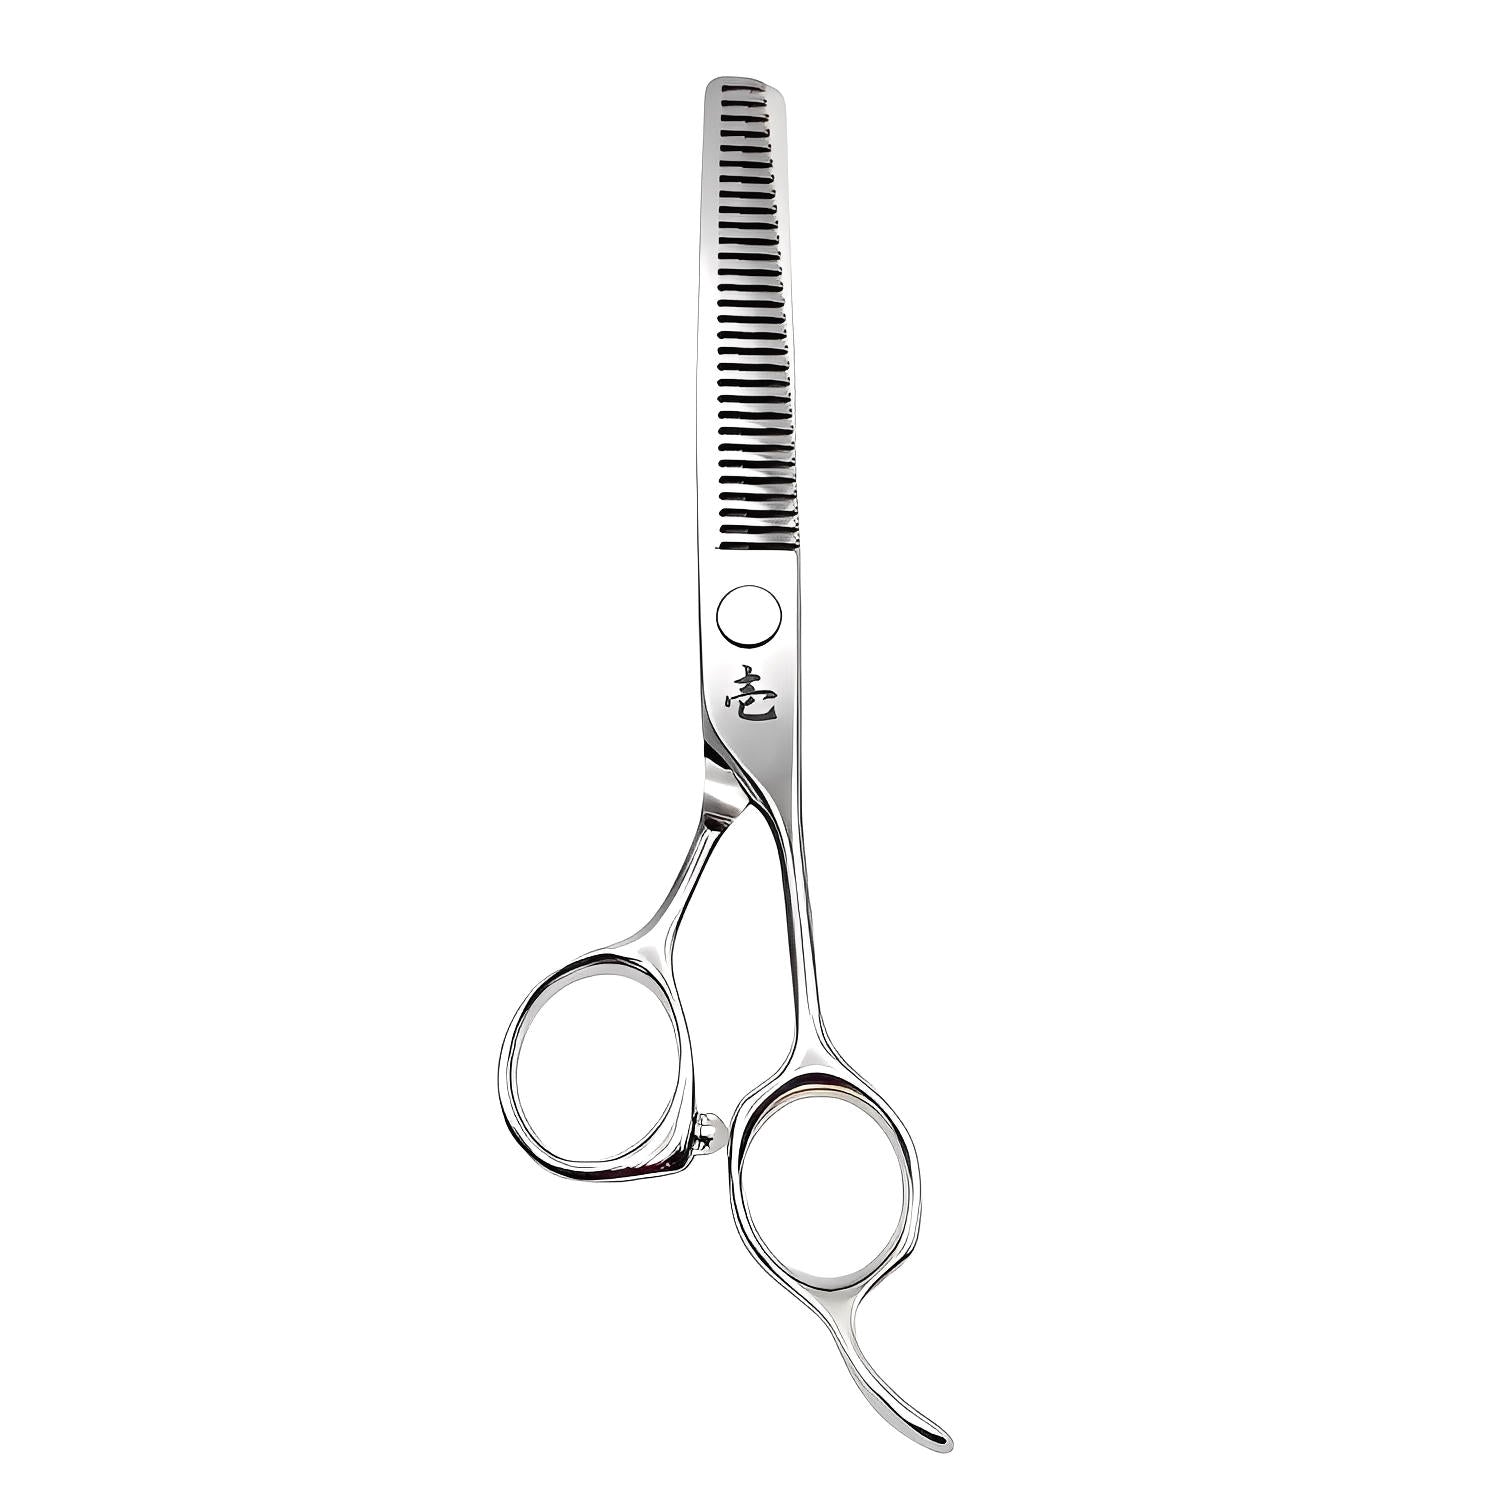
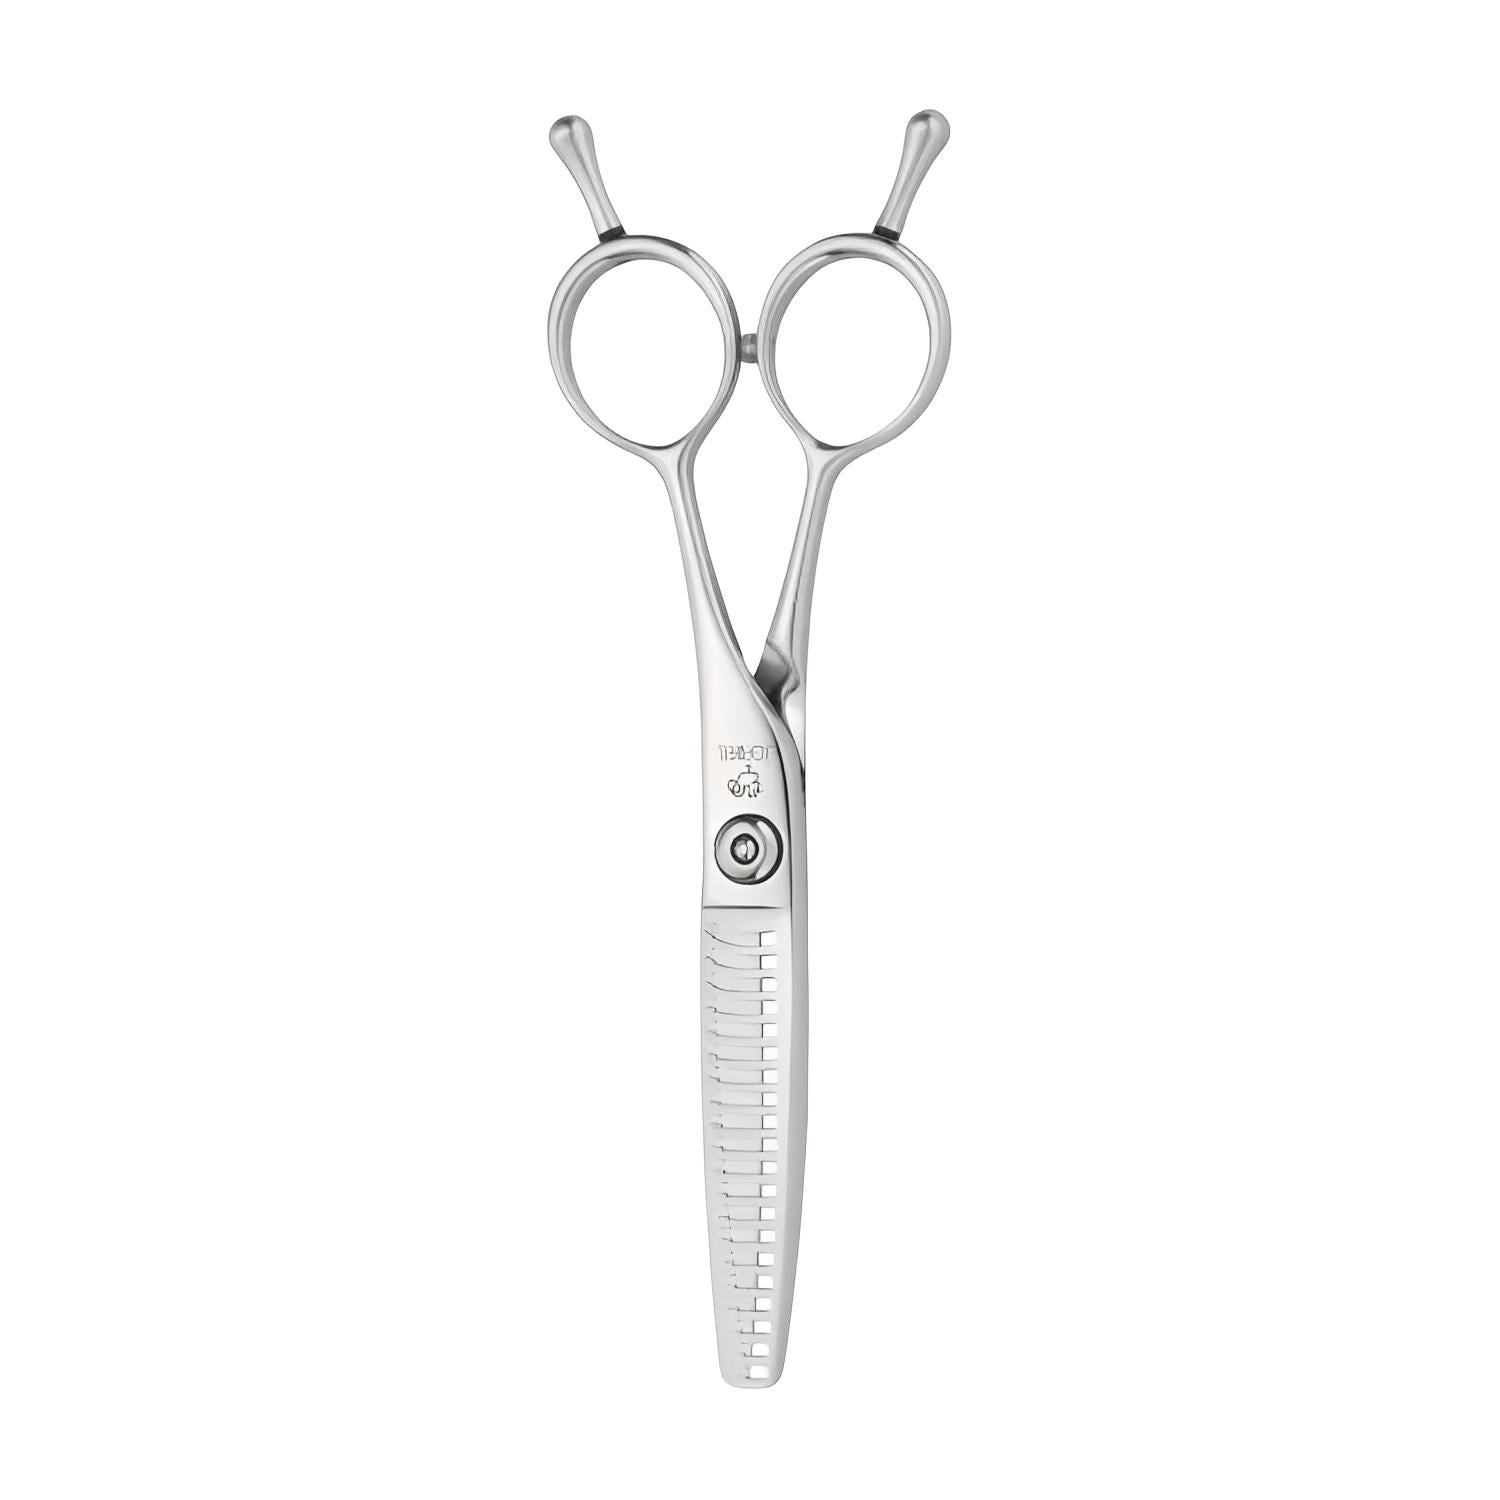
A thinning shear looks like a cutting shear with a comb for one blade. That comb is the whole point: when the blades close, only the hair caught between the teeth and the straight blade gets cut, and the rest slips through. Used well, a thinner takes out bulk, softens a hard line and blends one length into another without changing the shape of the cut. Used carelessly, it leaves holes. Here's how to tell thinners apart and how to get good results with one.
Thinning, blending and texturizing
You'll see three words on thinning shears in our range, and they describe how much hair each close removes.
- Blending shears have many fine teeth and remove a small amount of hair per close. They soften lines and hide the marks of a cutting shear.
- Thinning shears sit in the middle. They take out weight from thick hair while keeping the outline intact.
- Texturizing shears, sometimes called chunkers, have fewer and wider teeth. They take out noticeable pieces of hair, which adds movement and separation to short cuts and thick, heavy hair.
The names overlap from maker to maker, so don't rely on the name alone. Look at the tooth count and, where a maker lists it, the cut ratio.
Tooth count and cut ratio
Tooth count is the number of teeth on the toothed blade. It's printed on many product pages and in some model names: the Juntetsu Chomper thinners come with 10, 16 or 21 teeth, and the Yasaka YS thinner is offered with 16, 20, 30 or 40 teeth.
Cut ratio is the share of hair removed with each close, as a percentage. Joewell lists it for its thinners, and the numbers show why tooth count alone can mislead. The Joewell SNT-40 and the BC-40 Black Crest both have 40 teeth, but the SNT-40 is listed at a 5% cut ratio and the BC-40 at 35%. The shape and spacing of the teeth make the difference.
As a rough guide to cut ratio:
| Cut ratio | What it feels like | Typical use |
|---|---|---|
| Up to 15% | Barely there with each close | Blending, softening lines, fine hair |
| 15% to 35% | Noticeable but controlled | Everyday thinning on medium and thick hair |
| 35% and up | Takes out real weight | Texturizing, chunking, very thick hair |
Some models let you choose. The Ichiro Texture Master comes in a light style listed at 10 to 15%, a medium style at 20 to 25% and a heavy style at 30 to 35%. The Joewell JGC-12, with 12 teeth and an 80% cut ratio, sits at the far end: it behaves almost like a cutting shear with gaps.
Choosing your first thinner
If you're buying one thinner to cover most clients, choose a moderate one: around 30 teeth, or a listed cut ratio between 15% and 35%. It's forgiving on fine hair and still useful on thick hair with a few more closes.
Then check two more things:
- Hand. A left-handed thinner has the teeth on the opposite blade. Several thinners in our range offer a left-handed option; our left-handed shears guide lists where to look.
- Handle. Most stylists choose a thinner with the same handle style as their cutter, so both feel the same in the hand.
Length is less critical. Most thinners in our range are about 6.0 inches, which suits most hands. Our shear sizing guide explains why.
Technique that avoids holes
Good thinning is mostly restraint. A few habits help on a busy day:
- Start away from the scalp. On most hair, begin at least an inch or two from the root. Thinning close to the scalp leaves short hairs that poke through the top layer.
- Close once, then move. One close, slide down or across, close again. Repeated closes in one spot create a gap.
- Work on dry hair when you can. Wet hair hides how much you've taken out. If you thin wet, take less than you think you need and check after the blow-dry.
- Keep the blades moving with the hair. Angle the thinner along the direction the hair falls, not straight across it, for a softer result.
- Check in the mirror often. Thinning is easy to add and impossible to undo.
In the drier months, many clients come in with hair that's static and flyaway after the cold outside and the heat inside. Let the hair settle and comb it through before you judge how much bulk is really there.
Where a thinner earns its keep
A thinner pays for itself on the cuts that fill a normal week:
- Thick, heavy bobs where the ends need to sit flat rather than bell out.
- Blending a clipper line into longer hair on top.
- Softening a blunt fringe so it moves instead of sitting like a ledge.
- Taking weight from the nape on short cuts so they grow out more evenly.
Looking after the teeth
Teeth collect hair and product faster than a straight blade. After each client, open the thinner and wipe along the teeth with a soft cloth, from the pivot towards the tips. At the end of the day, add a drop of oil at the pivot and check that no hair is caught between the teeth. If a tooth ever looks bent or damaged, stop using the thinner and have it checked by a sharpening professional who works on thinning shears. Our winter care guide has the full daily routine.
Ready to compare?
Browse our thinning shears collection and open the product pages that interest you. Look for the tooth count and cut ratio in the specification table, the handle style, and whether a left-handed version is offered. If you'd like a cutter and thinner that match, our guide to building a salon kit on a budget covers sets. Questions? Email us with the model and the hair types you see most; the address is on the contact page.